Crayon Hearts


This weekend the hubby went away and the boys and I had some Quality Time together. I would just like to say how much respect and admiration I have for actual single parents, especially those who have to work one or more jobs.  I knew my husband and I were a good team, but you just don't realize how much you depend on each other until your team mate skips town.

Anyway, we did do a few activities besides Netflix...  I had bought a silicone heart mould at the dollar store before Valentine's Day and the boys have a bucket of crayons they never use - they are straight up marker dudes.  I had seen lots of tutorials about melting down crayons and when I suggested it they were pretty excited.  I won't describe the whole process, since there are lots of tutorials online, but the essentials are:

  1. Take paper off crayons: this is kind of tedious and your kids will abandon you and your nails will never be the same again.
  2. Break crayons into little pieces:  or not so little, depending on your hand strength.
  3. Put them in the silicone mould: if you want hearts that are actually shaped like hearts, you may want to skip the dollar store and invest at, say, Walmart.  (Our mould was promptly chucked in the garbage after this craft, and I am relieved to say that none of it remained in the oven.)
  4. Back up 3 steps and set the oven to 200 - 250 degrees.
  5. Once your oven has heated, put the mould on a baking sheet and pop 'er in.  Plug your nose and watch them melt, slowly, for about 15 - 20 minutes.  Open windows.  Wonder how many toxins are in crayons and look worriedly at your children.
  6. Put them on the back porch to cool down.
  7. Ooh and Aah as you pop them out of the mould and watch your kids colour diligently until they remember they don't like crayons, get bored, and go watch Netflix.


The weird thing was how the pigment sank to the bottom and all the extra (filler?) wax pooled at the top.  I assume that these were probably not top-of-the-line crayons... I didn't remember anyone mentioning this online.


Me being me, I took out a paring knife and shaved off the extra wax. Then I noticed the shaving were kind of pretty so I took photos.  Then I went and got my hair dryer and experimented with melting the shavings onto paper and canvas.  They looked sort of pretty until they got quite liquidy and the green overpowered all the other colours.  The result sort of looked like someone barfed on a canvas.  I didn't take photos.  But it was kind of fun to get my hands dirty and play around. I also noticed that the heart crayons made it into their stories and play for the rest of the weekend (I think at one point they were alien space ships) so I am calling it a successful craft.  :)

Building a design portfolio


As I launch into this interior design business, I realize that if I am going to go beyond friends and family, I am going to need to put together a professional-looking portfolio.  I am finding that this is hard to do in retrospect because the perfect "Before" shots may not exist, and I am not sure that my photography skill level is up to the best looking "After" shots (understatement).

I thought I would start by putting something together about my own kitchen first, since I have oodles of photos. None are styled the way I would like, but beggars and can't be choosers, and I am way too lazy to do that now. There is nothing like looking at your space on a photograph to really force you to take a step back.  For example, in the first photo my Breville espresso machine would be way better than that fugly toaster oven.  The chair and table are distracting in the corner.  The thermostat on the window sill needs to go and the whole counter, window - everything could be styled better.  I do like the splash of red/orange though.  Otherwise the kitchen is pretty bland in a photo.


It is also difficult to match up the angles of the before and after shots, but hopefully you can tell it is the same space.  It looks so wildly different to me, it's not even like looking at the same house!


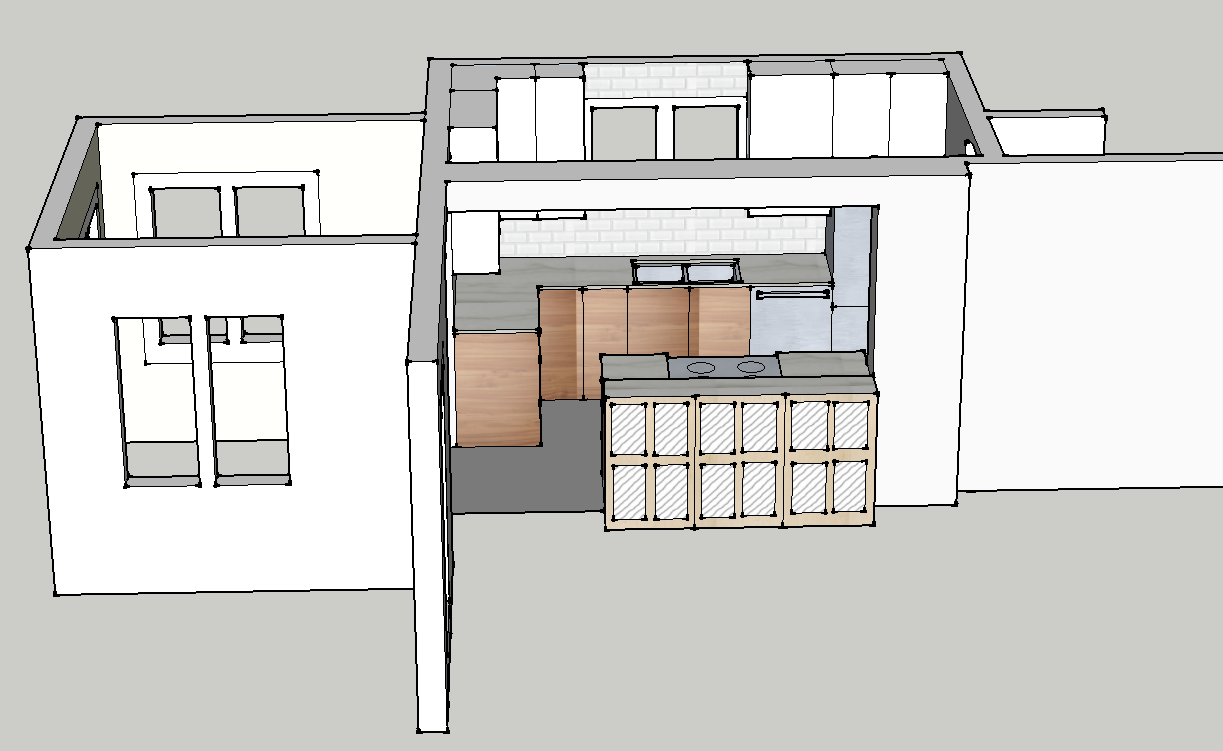
And then there's the drawings.  Do I add the drawings?  Are they part of the portfolio?  Do I add the final one or all the layouts I played with to get here?  I tell you, I pretty much did a masters degree in this SketchUp program by the time I was done this...


And I didn't do an inspiration board for myself, but I guess I should put one together in the style I would present to a client...

Anyway, thanks for reading.  I am excited to be moving forward on this. I have to say, Sarah Richardson's post on Facebook this morning was exactly what I needed to hear, and really got my butt in gear.  I even have found a photographer to do some of my other projects, hopefully they will end up way more profesh!  And the more I realize I have already done, the more I realize that the only thing holding me back is a lack of confidence, not a lack of ability.  And that just seems silly, now, doesn't it?


Back in it with Waterlogue


So, my Blogger dashboard tells me that I last posted December 9.  That's a while ago.  I won't go into too much about why, where I was, or what I was thinking - there are some great posts that sum it up so well by Grace Bonney, Jen Flores, and Janice.  Suffice it to say that it became a lot of work, a big time investment, and I was just not that into the new 'direction/professionalization' of blogging for myself.  I like to just throw stuff up that I think is pretty.  I include photos of my kids.  I don't really fit in a niche, and, having tried, I don't really want to.  I was all set to "take this thing to the next level" with a new Word Press site, fancy hosting, plug-ins, SEO, bla bla bla... and then I just stopped.  Stopped writing, stopped reading blogs, stopped spending all my waking hours looking at the computer.  I have read a LOT of books in the mean time!

But I kind of miss it.  I say 'kind of' because I don't really miss all the techie stuff, much as I liked it. And I certainly don't miss looking at my numbers, that stresses me out.  And I don't miss all the emails asking me to review things, blog about things, let other people write on my blog, etc.

I miss having a place to post stuff I like in a more thoughtful way than pinning it on Pinterest (which I still love).  When I post things here, I am forced to ask myself why I like it, and what about it speaks to me.  And here I can post about design, products, apps, crafts, colours, fashion, environment, music, you name it - it's my freakin blog!

So if you are with me, awesome, I love you, and I am grateful for your company.  If you are no longer feelin the love, that's cool, carry on, I'll be around if you change your mind.

But now, on to the main event, the reason I opened up this posting thing again: Waterlogue.

I know it's cheating, but hey, so is Instagram.  I know I am not actually a fabulous watercolour painter artist-extraordinaire, but I get to imagine how awesome I would be if I had the skills.  Just like with Instagram, I get to feel like a real photographer, capturing magical moments in time with just the right je-ne-sais-quoi. (On that topic, you must watch this hilarious video: http://youtu.be/5i9wUa8ofvE)

You will see from my heading at the top I have a huge love of watercolour.  Watercolours happen to be very "hot" right now - the loose impressionistic aesthetic is similar to the current rage for hand-written fonts over structured typefaces.  The artistic, the individual, the one-of-a-kind is refreshing in a world of cookie-cutter everything.

The irony of this is that you are no doubt going to see Waterlogue used EVERYWHERE now - your Instagram feed is about to go all David Milne.


This is my son at a recent Toronto Symphony Orchestra student concert (field trip).  I am just so blown away by the treatment of this app, the fidelity to real watercolour techniques and effects.  The photo above looks like it could be an illustration in a kids book.


So there you go: Waterlogue.  Best $2.99 I have spent in a while! :)

Thanks for reading. xo